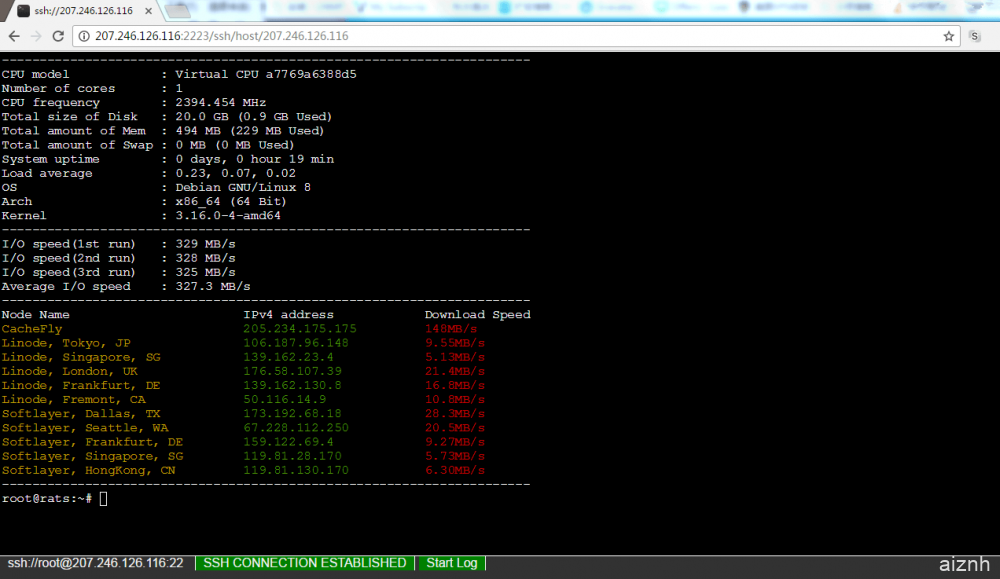
说明:我们登录VPS都会使用Xshell,Putty客户端,当然这里指的是Windows电脑的用户,不过好像在MAC电脑上登录有点麻烦,有的手机也不好操作,这里就需要使用到本文介绍的WebSSH客户端了,可以直接在浏览器里打开使用,有时候还是挺方便的。
截图

安装
1、安装NPM
教程查看:Debian/Ubuntu/CentOS安装最新版的Node.js和NPM教程
2、安装Webssh2
apt-get -y install git  #debian/ubuntu系统
yum -y install git  #centos系统
git clone https://github.com/billchurch/WebSSH2
cd WebSSH2
npm install --production
3、运行Webssh2
这里需要使用到screen,让Webssh2程序在后台一直运行即可。
使用命令:
yum install screen  #centos系统
apt-get install screen  #debian/ubuntu系统
screen -S Webssh2
cd WebSSH2
npm start
然后在浏览器打开http://IP:Port/ssh/host/IP即可使用。也可以通过修改config.json中的listen.port修改端口。
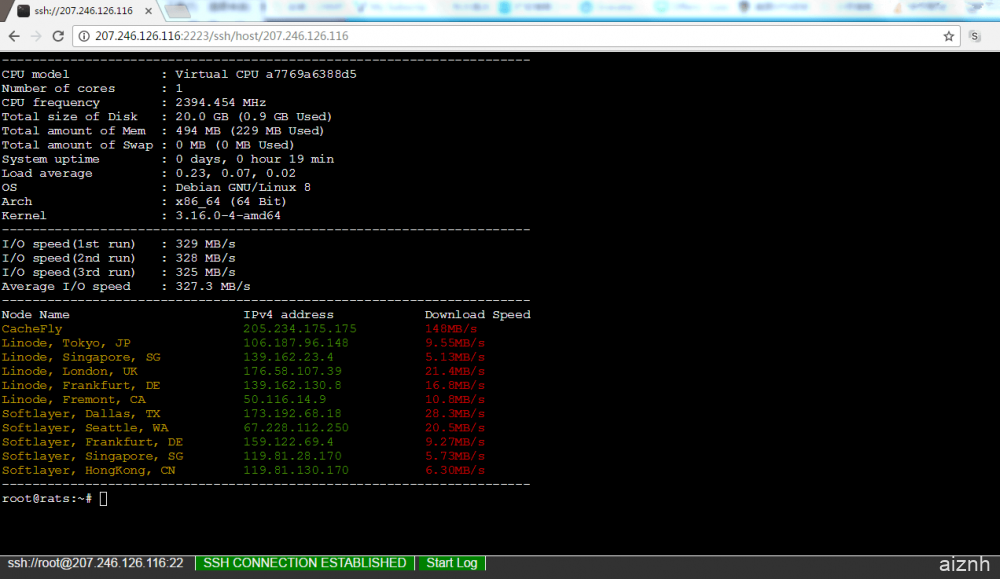
说明:我们登录VPS都会使用Xshell,Putty客户端,当然这里指的是Windows电脑的用户,不过好像在MAC电脑上登录有点麻烦,有的手机也不好操作,这里就需要使用到本文介绍的WebSSH客户端了,可以直接在浏览器里打开使用,有时候还是挺方便的。
截图

安装
1、安装NPM
教程查看:Debian/Ubuntu/CentOS安装最新版的Node.js和NPM教程
2、安装Webssh2
apt-get -y install git  #debian/ubuntu系统
yum -y install git  #centos系统
git clone https://github.com/billchurch/WebSSH2
cd WebSSH2
npm install --production
3、运行Webssh2
这里需要使用到screen,让Webssh2程序在后台一直运行即可。
使用命令:
yum install screen  #centos系统
apt-get install screen  #debian/ubuntu系统
screen -S Webssh2
cd WebSSH2
npm start
然后在浏览器打开http://IP:Port/ssh/host/IP即可使用。也可以通过修改config.json中的listen.port修改端口。
 爱站程序员基地

