上期内容回顾
# 聚合查询max min sum avg count# 查询关键字:aggregatefrom django.db.models import Max, Min, Sum, Avg, Countres = Book.objects.aggregate(max_price=Max(\'price\'), )# 分组查询group by"""默认情况下,分组之后依然可以查询到所有的字段数据,如果设置为了严格模式,只能获取到分组的那个字段show variables like \'%mode%\' sql_mode=\'only_full_group_by\';1. group_concat2. concat3. concat_ws"""# 查询关键字:annotateres = Book.objects.annotate() # 代表的是按照models后面的表进行分组res = Book.objects.values(\'title\', \'price\').annotate() # 执行某一个字段分组
1. 面试相关2. 事务的四大特性:ACID3. 事务的隔离级别4. 事务的作用:就是保证数据的安全5. 三个关键字:start transaction;commit;rollback;
# 对于一些字段可以完全列举完的可能性使用class User:gender_choices = ((1, \'男\'),(2, \'女\'),(3, \'其他\'),)gender = models.IntergerField(choices=gender_choices)# 获取值res.genderres.get_字段名_display()
1. 全自动2. 半自动3. 纯手动
# 特性:异步提交局部刷新# 我们学习直接使用jquery封装之后的ajax 必须引入jquery# 在js代码里书写以下代码$.ajax({url:\'\' # 提交地址type:\'post\' # 请求方式data: {\'d1\':d1},dataType:\'json\'success:function(res) {console.log(res)}})# 后端返回的数据格式分两种:1. json字符串前端处理:1.1 反序列化: JSON.parse(res)1.2 在加一个参数:dataType:\'json\'2. json对象# 前端不需要做任何处理
今日内容概要
- ajax发送json格式的数据
- ajax发送文件数据
- ajax集合layer弹窗实现删除的二次确认(了解见视频)
- django自带的序列化组件(了解)
内容详细
1. ajax 发送 json格式的数据
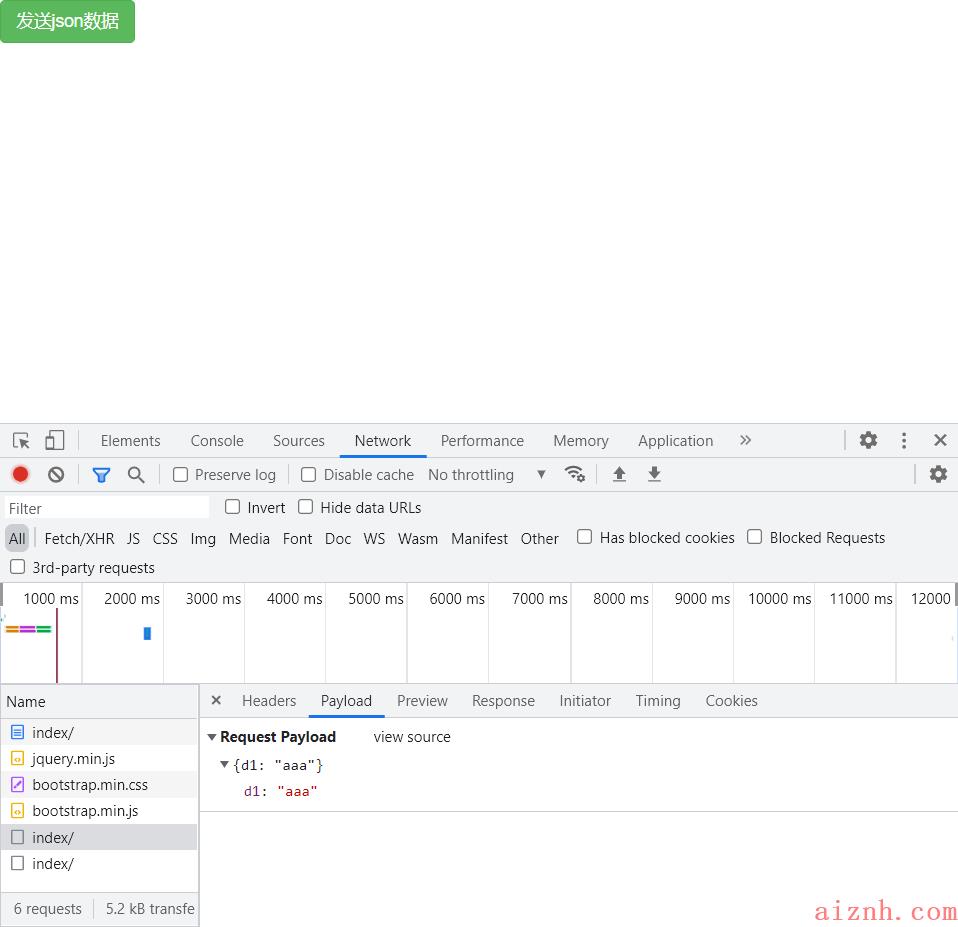
# ajax默认提交的数据格式是 urlencoded发送的数据类型和数据格式要保持一致# 在views.py文件中:from django.shortcuts import render# Create your views here.def index(request):# print(request.POST)# print(request.GET)# print(request.FILES)if request.is_ajax():print(request.body) # b\'{"d1":"aaa"}\' bytes类型json_bytes = request.bodyjson_str = json_bytes.decode(\'utf8\') # 解码print(json_str, type(json_str)) # {"d1":"aaa"} <class \'str\'>import jsonjson = json.loads(json_str)print(json, type(json)) # {\'d1\': \'aaa\'} <class \'dict\'>return render(request, \'index.html\')# 在urls.py添加路由:url(r\'^index/\', views.index),# 新建index.html文件:<!DOCTYPE html><html lang="en"><head><meta charset="UTF-8"><title>Title</title><script src="https://cdn.bootcdn.net/ajax/libs/jquery/3.4.1/jquery.min.js"></script><link href="https://cdn.bootcdn.net/ajax/libs/twitter-bootstrap/3.4.1/css/bootstrap.min.css" rel="stylesheet"><script src="https://cdn.bootcdn.net/ajax/libs/twitter-bootstrap/3.4.1/js/bootstrap.min.js"></script></head><body><button class="btn btn-success">发送json数据</button><script>$(\'.btn\').click(function () {$.ajax({url: \'\',type: \'post\',data: JSON.stringify({\'d1\': \'aaa\'}), // 序列化 jsoncontentType: \'application/json\', // 代表发送的数据是json格式success: function (res) {console.log(res)}})})</script></body></html>
2. ajax发送文件数据
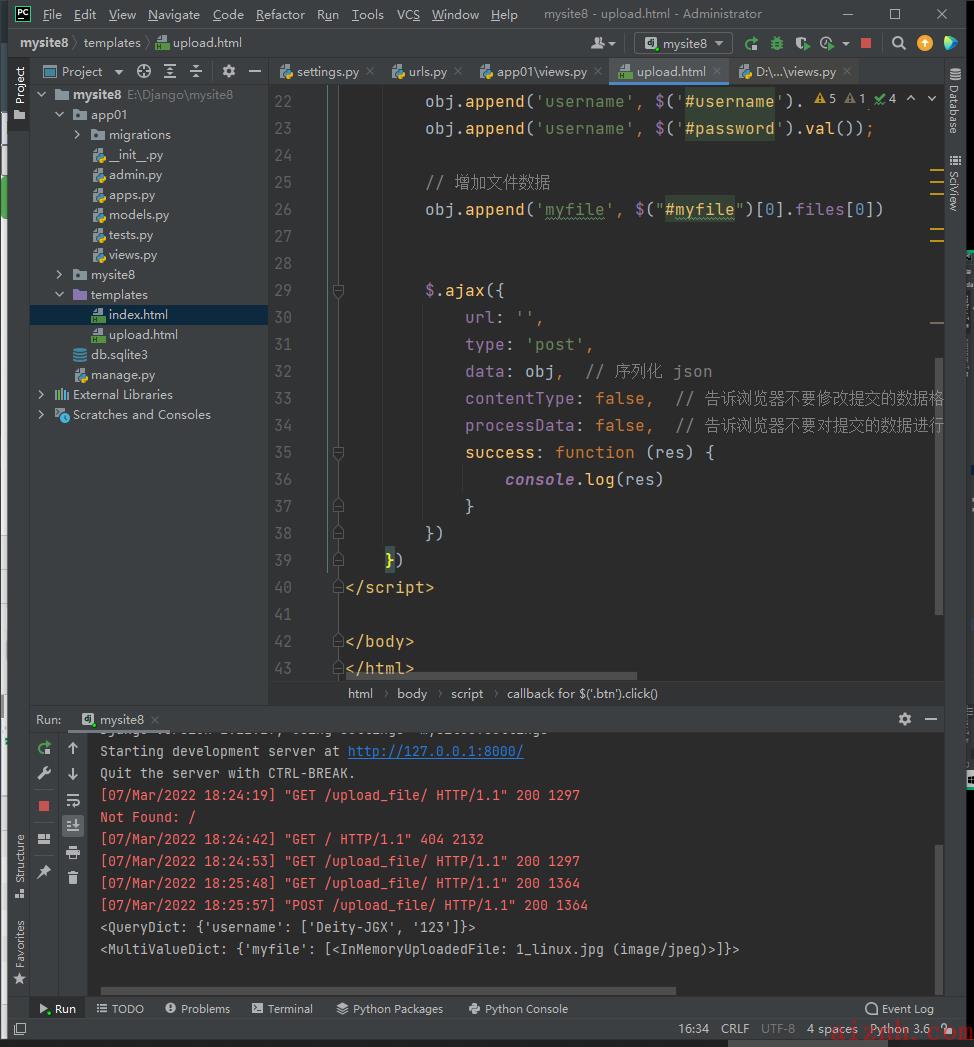
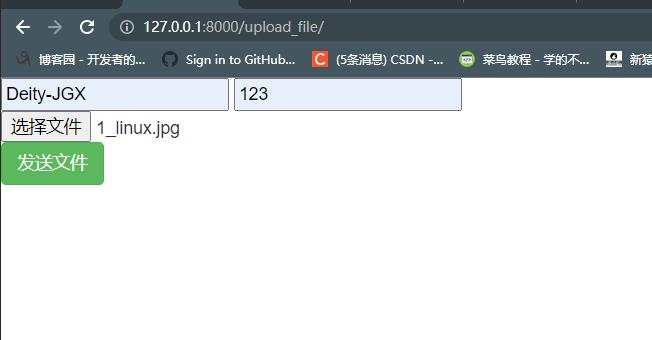
# 在views.py文件中添加功能:def upload_file(request):if request.method == \'POST\':print(request.POST)print(request.FILES)return render(request, \'upload.html\')# 在urls.py添加路由:url(r\'^upload_file/\', views.upload_file),# 新建upload.html文件:<!DOCTYPE html><html lang="en"><head><meta charset="UTF-8"><title>Title</title><script src="https://cdn.bootcdn.net/ajax/libs/jquery/3.4.1/jquery.min.js"></script><link href="https://cdn.bootcdn.net/ajax/libs/twitter-bootstrap/3.4.1/css/bootstrap.min.css" rel="stylesheet"><script src="https://cdn.bootcdn.net/ajax/libs/twitter-bootstrap/3.4.1/js/bootstrap.min.js"></script></head><body><input type="text" id="username"><input type="text" id="password"><input type="file" id="myfile"><button class="btn btn-success">发送文件</button><script>$(\'.btn\').click(function () {// ajsx上传文件需要借助与FormData// 1.实例化FormDatavar obj = new FormData()// 增加数据obj.append(\'username\', $(\'#username\').val());obj.append(\'username\', $(\'#password\').val());// 增加文件数据obj.append(\'myfile\', $("#myfile")[0].files[0])$.ajax({url: \'\',type: \'post\',data: obj, // 序列化 jsoncontentType: false, // 告诉浏览器不要修改提交的数据格式processData: false, // 告诉浏览器不要对提交的数据进行任何更改success: function (res) {console.log(res)}})})</script></body></html>
3. django自带的序列化器(了解)
# 在views.py中:from app01 import modelsfrom django.core import serializersdef user_list(request):user_list = models.User.objects.all() # 返回 queryset类型res = serializers.serialize(\'json\', user_list)return HttpResponse(res)


 爱站程序员基地
